Drafting a Basic Bodice Pattern from Scratch
Creating a custom fitted bodice pattern is an essential skill for any home sewist seeking greater control over garment fit. Ready-made patterns often require significant adjustments to accommodate individual body shapes, whereas drafting from scratch allows one to build a foundation that reflects personal measurements and proportions. This process involves taking careful measurements, plotting key points on paper, and shaping curves to match the body’s natural contours. While it may appear technical at first, breaking it down into clear, logical steps makes it accessible even for those new to pattern drafting.
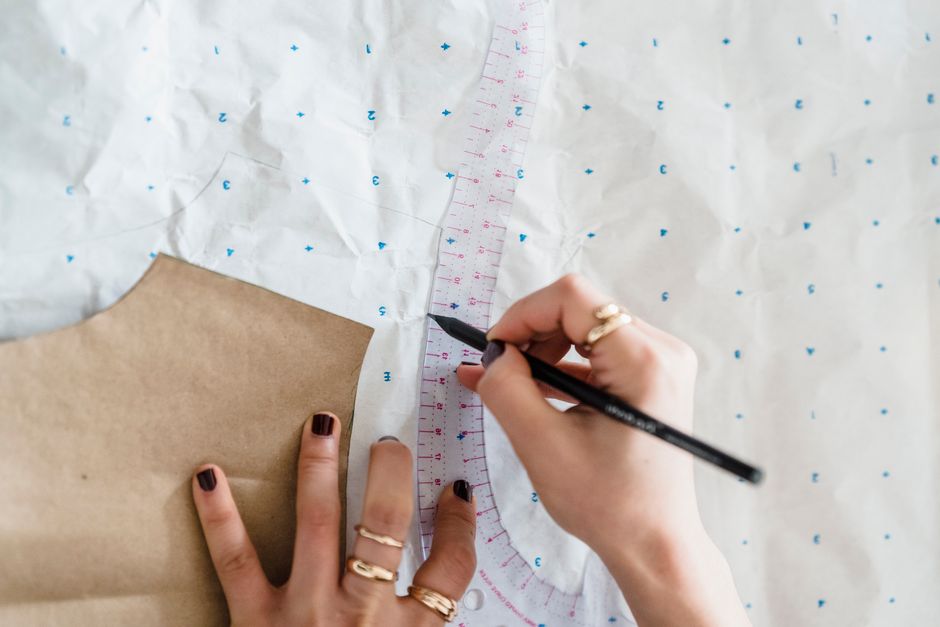
Before beginning, it is helpful to gather a few basic tools: a long ruler or yardstick, a French curve or flexible curve, a pencil, and large sheets of pattern paper. Having a well-lit, flat work surface also contributes to accuracy. The method described here focuses on a standard bust, waist, and hip alignment without additional ease, though adding wearing ease can be done later. By following these guidelines, sewists can develop a pattern that serves as a reliable starting point for tops, dresses, and blouses.
Taking Accurate Measurements
The success of any pattern drafted from scratch depends heavily on the precision of the initial measurements. For a basic bodice, the key measurements include the chest (bust) circumference, waist circumference, hip circumference, back length (from the prominent neck bone to the waist), and front length (from the shoulder point over the bust to the waist). Additionally, shoulder width, armhole depth, and neck width and depth are needed. It is advisable to take these measurements while wearing the undergarments typically used with the finished garment, and to use a flexible tape measure that sits snugly but not tightly against the body.
When recording measurements, it is useful to note them in a consistent order and to double-check each one for accuracy. For example, the bust measurement should be taken at the fullest part of the chest, while the waist measurement is taken at the narrowest part of the torso. Hip measurement, though not directly part of the bodice, helps in understanding the overall silhouette. For the back length, ask a helper to measure from the bony protrusion at the base of the neck down to the waistline. The front length is measured from the same neck point, over the bust apex, to the waist. Keeping a chart of these numbers allows for easy reference during the drafting process.
Drafting the Front Bodice
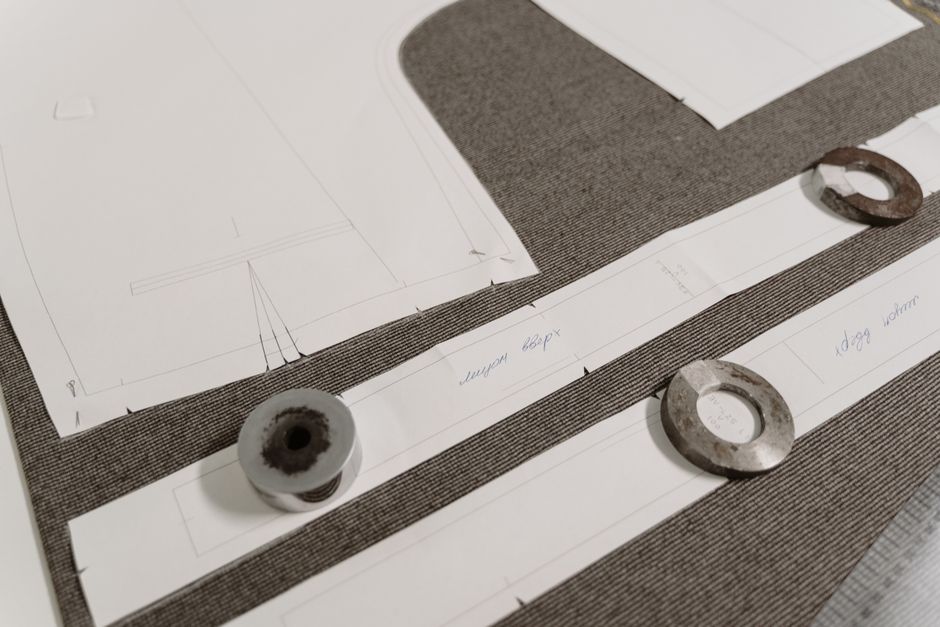
Begin with a rectangular piece of pattern paper that is slightly longer than the total front length and wider than half the bust measurement plus a few inches for ease. On the left side of the paper, draw a vertical line representing the center front (CF). From the top of this line, measure down the back length to mark the waistline, and draw a horizontal line across the paper. Next, locate the bust line by measuring from the top of the CF line downward a distance equal to the armhole depth plus about half an inch; draw another horizontal line. The shoulder slope is determined by marking a point from the CF line outward along the top edge that equals half the shoulder width, then dropping a short vertical line to the shoulder point.
The neckline is drawn by marking a point down from the top of the CF line that equals the neck depth (commonly one-sixth of the bust measurement plus a small addition) and a point to the right that equals half the neck width. Connect these points with a smooth curve using a French curve. The armhole curve begins at the shoulder point, curves downward around the bust line, and ends at a point determined by the side seam. For the front bodice, the dart is typically positioned from the side seam or shoulder toward the bust apex. To locate the bust apex, measure from the CF line half the distance between the two bust points. A dart is then drawn with its tip placed approximately one inch away from the bust apex to avoid a pointed shape. The width of the dart corresponds to the difference between the front length and back length, distributing the excess fabric for bust shaping.
Drafting the Back Bodice
The back bodice is drafted similarly to the front but with key differences to accommodate the shoulder blades and the curvature of the spine. Start with a paper that has the same width as the front, but note that the center back (CB) line is placed on the right side for a right-handed drafter (or left if preferred). The waistline and bust line are drawn at the same vertical positions as the front. The shoulder slope for the back is usually slightly higher than the front because the shoulder blades push the fabric outward. The back neckline is shallower, often measuring about half an inch less in depth than the front neckline.
The armhole curve on the back is generally less pronounced, with a slightly straighter edge near the shoulder. The side seam length should match the front side seam measurement, so after drafting the front side seam, transfer that length to the back. A back dart is often used to shape the fabric around the shoulder blades; its placement is typically from the shoulder seam or the waistline. The dart tip should point toward the area of fullest curve on the back, which is usually around the midpoint between the neck and the armhole. When both front and back pieces are drafted, compare the total length along the side seams and adjust if necessary. Small discrepancies can be resolved by slightly raising or lowering the waistline on one piece.
Shaping Darts and Curves
Darts are essential for converting a flat piece of fabric into a three-dimensional shape that follows the body’s contours. The front bust dart absorbs the extra length required over the bust, while the back shoulder dart or waist dart manages the curve of the shoulder blades. When drawing the dart, it is important to make the legs of the dart equal in length and to taper them smoothly to the tip. The dart legs should be straight lines that meet at the tip, and the fold line should align with the center of the dart. To ensure the dart does not create a bulge, the tip should be placed at least one inch away from the bust apex or the fullest point of the back.
Curves such as the armhole and neckline require careful shaping. Using a French curve, gently connect the points without sharp angles. The armhole curve should allow the arm to move freely without binding; a common guideline is to make the front armhole slightly more curved than the back. The neckline curve should be consistent with personal preference and the intended style of the garment. For a basic bodice, a rounded neckline that sits just below the collarbone is typical. After drawing these curves, it is advisable to cut out the pattern pieces along the seam lines and pin them together, then test the fit on a dress form or by holding the paper against the body. This step reveals any visible imbalances that can be corrected before cutting fabric.
Adding Seam Allowances and Final Adjustments
Once the basic shape of the bodice front and back is satisfactory, seam allowances should be added. Standard seam allowances vary, but a common width is five-eighths of an inch (1.5 cm) for most seams, and half an inch (1.2 cm) for the armhole and neckline if a facing or binding will be used. Using a ruler and a separate color pencil, draw parallel lines outside the original seam lines. For curved sections, a French curve or a flexible ruler helps maintain a consistent distance. After adding allowances, label each pattern piece with its name, the grainline direction, and the number of pieces to cut. For example, the front bodice should have a grainline arrow running parallel to the center front, and the back bodice a similar arrow parallel to the center back.
Final adjustments may be necessary after a test garment (muslin) is sewn. Common modifications include lengthening or shortening the waist, adjusting the armhole depth, or repositioning darts. These tweaks are part of the normal process and help refine the pattern to better suit individual posture and proportions. By approaching pattern drafting as an iterative exercise, sewists can develop a reliable template that can be reused and adapted for various designs. With practice, the initial measurements and drafting steps become intuitive, allowing for more creative experimentation with different silhouettes and styles.