Fixing a Torn Seam: Quick Repair Without a Machine
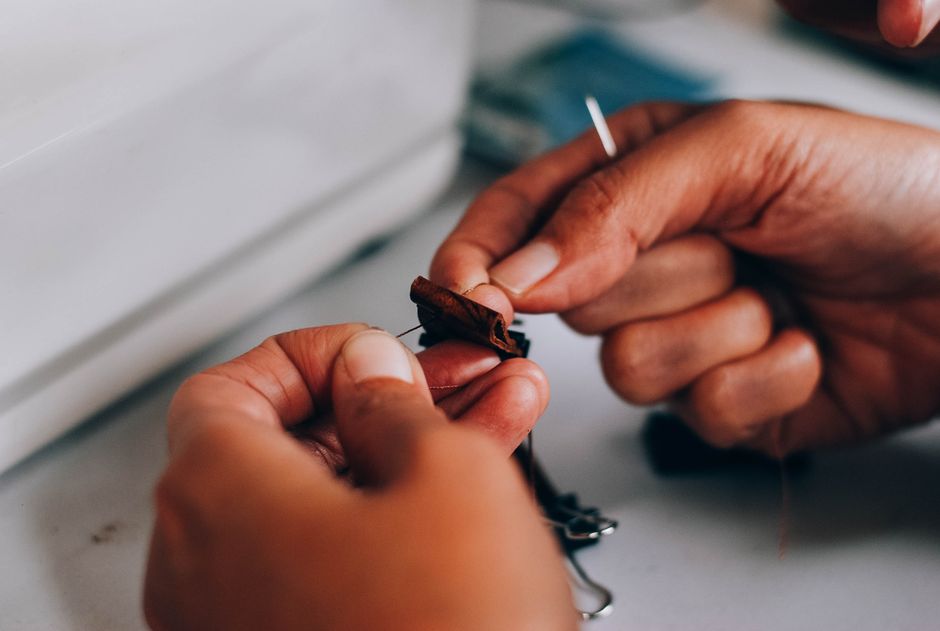
A torn seam can appear unexpectedly, often along the stitching line of a favorite shirt, pair of trousers, or a household textile item. While a sewing machine offers speed, it is not a requirement for a dependable repair. Hand stitching provides a practical alternative that can restore the integrity of the seam without specialized equipment. With a few basic tools and a systematic approach, the repair process can be completed in a short amount of time, allowing the garment to continue being used.
Understanding the nature of the tear is the first step. Seam failures typically occur when the thread weakens or breaks under tension, or when the fabric itself gives way near the stitch line. In many cases, the seam allowance remains intact, making it possible to rejoin the edges with new stitches. The following sections describe a straightforward method for repairing a torn seam by hand, focusing on preparation, technique, and finishing.
Assessing the Damage and Preparing the Area
Before beginning the repair, it is helpful to turn the garment inside out so that the seam allowances are accessible. Carefully examine the length of the tear and the condition of the fabric surrounding it. If the edges are frayed or the fabric has separated completely, the seam may need to be trimmed slightly to create a clean edge. Trimming loose threads and frayed ends can prevent further unraveling during the stitching process.
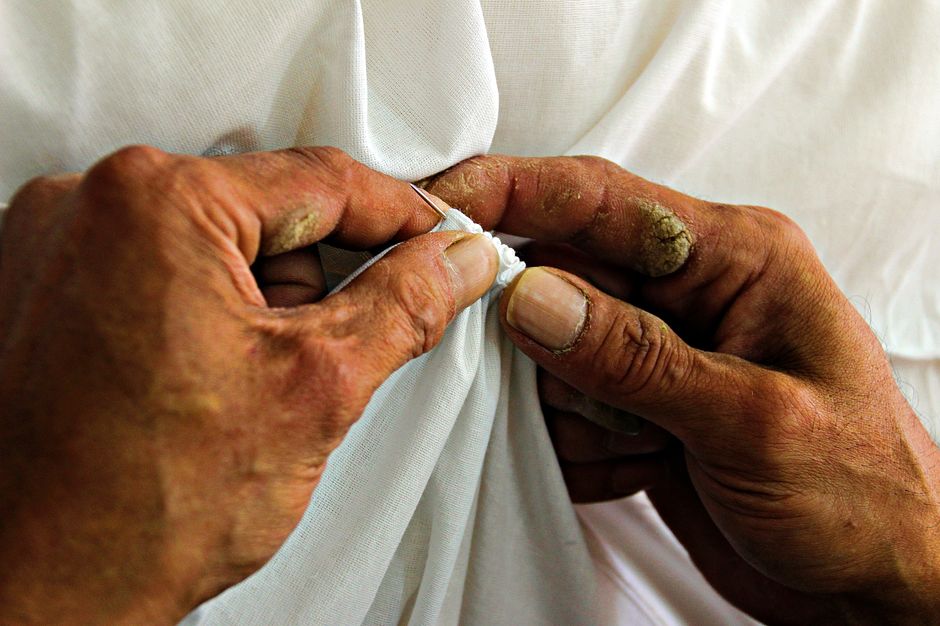
Once the area is clean, align the two edges of the seam so that they meet exactly as they did originally. This alignment is important because even a small offset can cause puckering or uneven tension when the garment is worn. Pinning the layers together with a few straight pins can hold the fabric in place while stitching. Alternatively, a temporary baste stitch using a contrasting thread can serve the same purpose. Taking a moment to ensure precise alignment reduces the likelihood of needing to redo the work later.
Selecting Suitable Materials for the Repair
The choice of thread and needle influences both the appearance and durability of the hand‑stitched seam. A thread that matches the original seam thread in color and weight will make the repair less visible. For most woven fabrics, an all‑purpose polyester or cotton‑wrapped polyester thread works well because it offers a balance of strength and flexibility. If the fabric is delicate or stretchy, a thread designed for that specific textile may be more appropriate.
Needle selection depends on the fabric type. A sharp needle with a medium eye, such as a size 7 or 8 universal needle, is suitable for many common fabrics. For thicker materials like denim or canvas, a heavier needle with a larger eye can handle the thread without difficulty. A thimble can be helpful when pushing the needle through dense layers, especially if the seam includes multiple fabric thicknesses. Having a small pair of scissors or thread clippers nearby allows for clean cuts when trimming excess thread.
Executing the Hand Stitch
Several stitch types can be used to rejoin a torn seam. The backstitch is a strong and secure choice for seams that will experience regular stress, such as those on trousers or shirt side seams. To perform a backstitch, thread the needle and knot the end. Insert the needle through both layers of fabric from the inside, bringing it out a short distance along the seam line. Then insert the needle back into the fabric at the starting point and bring it out again a second distance ahead, effectively overlapping each stitch. This creates a continuous line of stitches that lock together.
For situations where the repaired seam will be subjected to less tension, a running stitch can be adequate. The running stitch passes the needle in and out of the fabric at regular intervals, creating a dashed line. While faster to sew, it is less durable than a backstitch. Another option is the ladder stitch, often used for invisible repairs. The ladder stitch is worked by taking small bites of fabric from one side of the seam, then the other, alternately, while pulling the thread tight to bring the edges together. This technique is particularly useful for closing openings left in a seam after turning a garment right side out, or for repairs where the stitching should be hidden from view.
Whichever stitch is chosen, maintaining an even tension is important. Stitches that are too tight can cause the fabric to pucker, while loose stitches may leave gaps. A consistent stitch length of roughly three to four millimeters per stitch usually provides a good balance between strength and appearance. Working slowly and checking the alignment after every few stitches helps ensure that the seam remains straight.
Finishing the Repair and Securing the Thread
Once the entire length of the torn seam has been re‑stitched, the thread must be secured to prevent the stitches from unraveling. A simple knot can be made by taking a small backstitch and pulling the needle through the loop that forms, repeating this step once or twice. Alternatively, a few small stitches placed on top of one another in the seam allowance can create a secure anchor without a visible knot. After the thread is fastened, trim the excess thread close to the fabric, leaving a tail of approximately half a centimeter to avoid cutting the knot.
After finishing, turn the garment right side out and inspect the repair from both inside and outside. The hand‑stitched seam should align with the surrounding seam lines, and the fabric should lie flat. If any puckering is apparent, it may be possible to gently massage the fabric or steam it with an iron to help it settle. Pressing the repaired area on a low heat setting, with the seam allowances pressed open or to one side, can further help the stitches to blend into the fabric.
Considering the Context of the Repair
Hand stitching a torn seam is a practical solution for many everyday garment repairs, but certain conditions may warrant additional consideration. Seams located in high‑stress areas, such as the crotch of trousers or the underarm of a fitted shirt, experience repeated tension and movement. In such cases, using a backstitch or reinforcing the repair with a second row of stitching can improve longevity. The type of fabric also plays a role: stretch knits may require a stitch that can flex, such as a small zig‑zag stitch done by hand, while heavy coatings may need stronger thread and a denser stitch pattern.
If the fabric around the tear is weakened, frayed, or missing from the seam allowance, the repair may benefit from the addition of a small piece of backing fabric to reinforce the area. This is especially true for garments made of thin or aged textiles. When the damage extends beyond the seam line itself, consulting a professional tailor or seamstress may be appropriate, but for a straightforward torn seam, the hand‑stitching method described here offers a reliable way to restore the garment to functional use.